
Getting started · Step 1
Install the right app.
iSCSI4NAS comes in three editions on the Mac App Store. Which one you need depends on your processor and your macOS version. You can find out in a minute.
Which edition fits your Mac?
Open Apple menu → About This Mac. Next to Chip you see an Apple chip (M1, M2 and later). Next to Processor you see an Intel processor. The macOS version is listed below.
| Your Mac | macOS | Edition in the App Store | Subscription |
|---|---|---|---|
| Apple Silicon | macOS 15 Sequoia and later | iSCSI4NAS for Apple Silicon | €12.99 per year |
| Intel | macOS 14 Sonoma to macOS 26 Tahoe | iSCSI4NAS for Intel | €5.99 per year |
| Intel | macOS 13 Ventura | iSCSI4NAS for Intel Ventura | €5.99 per year |
Each edition ships its own driver. It is tuned for exactly this processor and these macOS versions.
Trial and subscription
You get iSCSI4NAS for free and test it for 30 days with every feature. After that the app continues as a yearly subscription through your Apple Account. You can cancel at any time in the subscription settings of your Mac.
- Apple Silicon: €12.99 per year. This is where we keep building. New features arrive continuously.
- Intel and Intel Ventura: €5.99 per year. The Intel edition is mature and tuned for stability. The subscription covers fixes and updates for every macOS release until December 2031. After that the app stays unlocked for all subscribers. You only pay while you use your Intel Mac. When you move to Apple Silicon, simply cancel.
iSCSI4NAS is free during the beta. The Mac App Store shows the final price for your country.
Install
- Open the App Store on your Mac and search for iSCSI4NAS.
- Choose the edition from the table above and click Get. The App Store places the app in your Applications folder.
- Open iSCSI4NAS. On first launch the app shows its terms of use. Read and accept them.
After first launch
The bottom left now shows DEXT: Not installed. That is the normal starting point. You install the driver yourself with one click and then approve it in macOS. This keeps you in control of when a system extension is added.
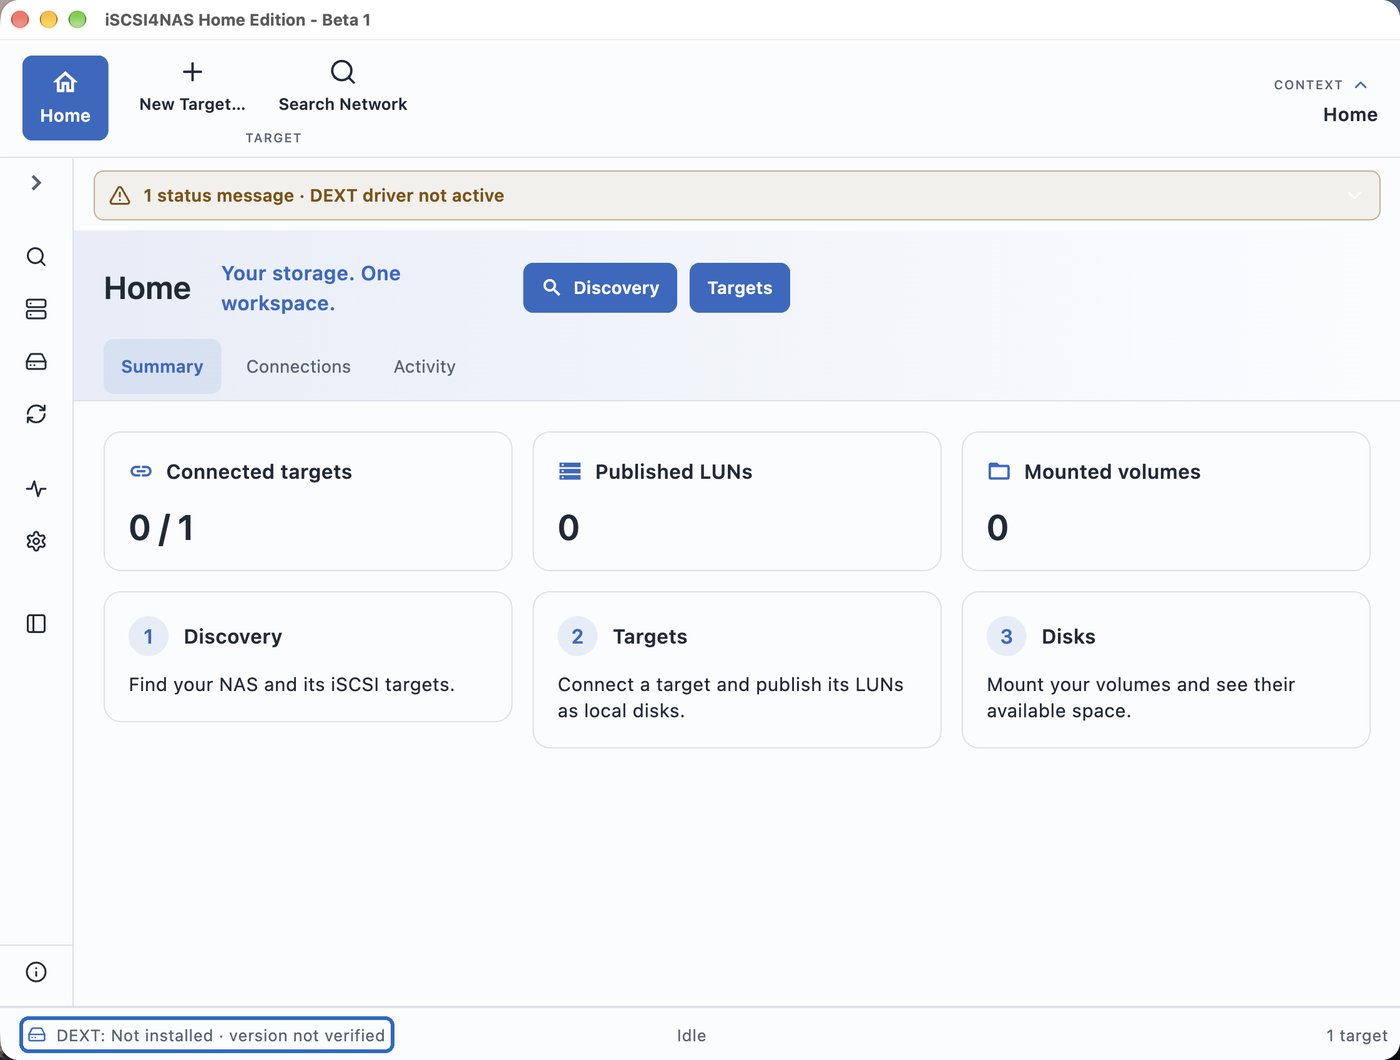
Connect targets once the status shows DEXT: Active. The next step shows you how: Approve the driver.
Updates
Updates arrive through the App Store like any other app. Finish running work cleanly first:
- Finish writes. Close open files on the iSCSI volumes and let copies and backups complete.
- Eject volumes. Eject them in Finder or unmount them in iSCSI4NAS. Wait until they disappear from Finder.
- Quit the app completely. Choose End All Connections and Quit Completely in the app menu or press ⌥⌘Q. ⌘Q only closes the window and keeps the connections running.
- Install the update and open the app.
If the update brings a new driver, the app shows DEXT: Restart required. Restart your Mac then. macOS loads a new driver with the next restart.
A sleeping NAS needs a moment to respond. Wait until the volumes are really ejected. Then quit the app.
Beta versions through TestFlight
We test new versions with beta testers through Apple's TestFlight app. The invitation arrives by email or as a link.
- Get TestFlight from the Mac App Store.
- Open the invitation on the Mac you want to test with. Its link takes you into TestFlight.
- Accept the invitation and click Install next to iSCSI4NAS.
- Open the app and set up the driver as described in Approve the driver.
Apple Silicon, Intel and Intel Ventura each have their own invitation. Use the one that matches your Mac.
Beta feedback
The quickest way is right in TestFlight: select the beta and click Send Feedback. You can attach screenshots there too. For detailed reports with follow-up questions you can also use Bug Reporter in the app.